Sunday, March 6, 2016

My Spiritual Journey

1 comments

Faith.  That's something I always thought I had, but I am quickly learning that I never really had true faith.  It was some kind of ruse that I lived under to protect myself from the bitter truth.  It's been a long time since I have truly had faith.  When I was younger, I was actively involved in my church and spent a lot of time listening to what others said God said.  I prayed prayers I was taught, and I believed in what others told me I should believe in, and I never really thought to study and develop my own relationship with God.  

When I came out as a lesbian, I kind of lost my faith because I knew other people told me that it was a sin, it was "bad," and I would need to change my "lifestyle."  This is where I really fell out of touch with God.  It started when I first began college and I became concerned with grades, working on my future, but it really snowballed when I came out.  I didn't really know how much it affected me until very recently. 

When we moved to Illinois, my spouse started talking more about getting back into church.  We tried a church our friends went to and we played volleyball for, and it was okay for a while.  Then, we got into the Lenten season and they started to ask for money.  Now, I understand churches need money in order to survive and rely on donations from their parishioners; however, they started to talk about money all the time.  This is also a hot topic for me in regard to religious institutions.  I stuck with it for a while, but then they discussed how we were all broken, and we could not be fixed.  They painted a very hopeless situation, and I couldn't stick with it anymore.  We tried another church, but it just didn't stick. 

Then, a friend of ours started to talk about her journey into rediscovering her own faith, and we started to listen to what she had to say and talk about reconnecting with our faith.  Then, our friend offered to do a Bible study at her house.  So, we bought Bibles (yep, that's how far outside of our faith we were) and started a Bible study.  This past Tuesday was the first actual Bible study, but we have also been trying to do devotionals every night.  

It's funny how the readings speak to you.  During Bible study, we discussed Matthew where God spreads the word of God, and we are responsible for how we receive the Word.  For a long time, I was the thorny bush, I didn't let the seed grow where it was planted.  Now, I have shallow soil, waiting for it to be enriched again to provide proper nutrients to my seeds so I can let my faith grow.  It was very symbolic of where I am in my journey.  Friday night, I also read a passage where Jesus discussed the two most important commandments are to love God and to love your neighbor because these two things are the essence of the other commandments.  The devotional discussed this is also part of loving yourself because we are to treat others as we treat ourselves...and most of us tend to not treat ourselves pretty well.  However, it's not about focusing on yourself and your imperfections...it's about focusing on God and others, and your improvements will come.  Maybe that's been my problem this whole time.  There's been this type of selfishness in trying to work on myself, and if I just focus on my relationship with God and have Him guide me though this journey, then I will achieve my goals.  

I'm excited to see where this journey takes me.  

Saturday, March 5, 2016

Musings From a Fat Girl

0 comments
Don't think because I haven't been blogging, I haven't been thinking about blogging.  It's been quite the journey over the last couple of weeks as I have been really sick (I got a stomach bug twice), which has significantly hindered my journey.  However, it's given me a lot of time to reflect.  I've been thinking about what has been holding me back, and what would help make this journey more successful.

The first thing I need to do is start doing things for me.  Yesterday, I rearranged my accuse so it would be more me and less like the previous occupant.  Holding back is something I've always been good at, and I think I need to come out of my shell a little more.  I think this also includes documenting my journey.  This is blogging, instagraming (can that be a verb?), journaling....figuring out some way to hold myself accountable and, as a fortunate side effect, try to inspire others.

Part of my journey is finding a good, well-balanced, me, not just a thinner, hotter me (but that's going to be a bonus).  Therefore, I have joined in a Bible study to assist in fulfilling my spiritual side.  I do this every Tuesday and then have a devotional I read at nightly.  It's been helping me connect with my spiritual side, and I am a lot more fulfilled than I was - and it's only been a week!

Mainly, I'm going to be posting a lot, doing some product reviews, and documenting exactly what I do, what I eat, and what life is like to hold me accountable, help me remember where I came from, and hopefully inspire some people along the way.  That means this blog is going to turn in to much more than just craft stuff, but there will still be some crafty stuff.  I really need to get back into my crafts, too.

Really, I need to get my life together.  I have virtually no energy, and I never want to do anything.  This has to change...I have to get back into it. And, it starts now.

Sunday, February 7, 2016

Becoming A Butterfly

0 comments

Clearly I've done so well on my resolutions.  In case you missed it, that's sarcasm.  I have just been stuck in this rut I was hoping the new year would give me the friction I needed to move out of it.  While I haven't done well, I haven't done badly either.  I've been very stagnate....in all areas.  I work and I sleep.  I'm so emotionally drained when I come home that I don't do much.  

In order to kick myself into gear, eat my last chocolate chip cookies, and drink my last soda, I have joined Shaun T's CIZE accountability group for the month.  I think this will give me the motivation I need to make some sustainable habits.  It will help develop consistency in exercising and eating well for sure.  This is great because it coincides with Lent, which is something I want to go back to.  I have kind of strayed from religion/spirituality, and I want to get back in touch with that side of myself...but that's another blog post. 

More importantly, I need to stop hiding.  That's why I think this group is so good for me.  I need to participate in it and open up instead of shutting it down.  That's why I don't blog, that's why I don't stay consistent, and that's, ultimately, why I don't succeed.  

It's about stepping out of the box, not accepting excuses, and putting my long term self in front of my short term feelings.  No longer do I let other people, feelings, and temporary situations control my life.  I'm so tired of being in this same spot day after day, week after week, month after month.  Now is the time to change. 

Tonight, I toast my old self (with my McDonald's coke) for all that she has taught me and shown me. Tonight, I sit on the branch, like the caterpillar, and take one last look at the sunset.  Tomorrow, I go into my cocoon, and, in the end, I will emerge as the butterfly. 

Friday, January 1, 2016

The Year of Intention

0 comments
Have you heard of the concept of picking a word that you are going to think about and live for the next twelve months?  I have thought about this for some time, and the word that immediately came to mind and I've been ruminating about is "intention."

This means being intentional about what I put in my mouth.

This means being intentional about exercising.

This means being intentional about what I do in my free time.

This means being intentional about my job.

I am going to start posting additional things on here other than craft projects.  Don't get me wrong, it will still be predominately craft projects, but I need somewhere to post progress, thoughts, recipes, things other than crafts....or in addition to crafts.

The bottom line is I plan on posting more, including more about my life.  This will help keep me accountable.  So, here is my plan of attack:

I am going to plan meals on Friday and prep meals on Sunday.

I am going to complete the Jillian Michaels BodyShred program.

I am going to plan my week out on Sunday to prepare for the rest of the week.

2016 is my year of intention.  Get ready.

Monday, December 14, 2015

Santa Boxes

0 comments
Good Morning!

I made it to day 9 of the 12 Days of Christmas.  Hopefully I will make up for that with a few more Christmas projects before the end of the month.  Today's project is a quick and easy one that took no time at all!

I used the curvy keepsake box to make them look like Santa.  I got the idea from My Pink Stamper.  She made the boxes and matching placemats.  I did a few things differently with the belt, but I think they turned out really cute!  I thought they would make the perfect Monday gift for my staff.  They've been working hard this month, and I like giving them fun things.


I used two different color for the boxes, cherry cobbler and real red.  The belt was made with the black glimmer paper, which I cut into a rectangle then glued it on and cut it to fit the curviness of the box.  The buckle was made with a die from the Baker's Box frailest set and silver glimmer paper.  


The box fits four hershey kisses perfectly.  I used the candy cane kisses to make it a little more festive.  I love how easy and simple the box is to put together.  This is definitely the project to throw together as a last minute Christmas idea.  I hope ya'll love it as much as I do!  

Happy Craftin'!!!


Wednesday, December 9, 2015

12 Days of Christmas Day 9: Tree Treats

0 comments
Good Morning and Welcome to Day 9 of the 12 Days of Christmas!

Today's project comes from the master herself, my mama!  She has all of the creativity and makes super cute projects.  Today, she made these ADORABLE Christmas tree treat holders.  She made then for a swap with her Stampin' Up people in Texas, and they were a big hit.

I'm sad she didn't save one for me.  She used the cutie pie thinlit die to create the box and the window.  She cut out the little tag with the deco labels frame lit, stamped the sentiment, and put a few accessories.  Isn't it just adorable!  I love it so much!


Supplies Used

Don't forget to leave her some bloggie love!  These are awesome!  Come back tomorrow for Day 10!

Happy Crafting!


Tuesday, December 8, 2015

12 Days of Christmas Day 8: Fleas Navidad

0 comments
Good Morning!

Here is day 8 of the 12 Days of Christmas.

I have all of my Christmas shopping done, and I am very excited about it because I an usually not this organized this early in December.  Usually, I am a last minute kind of girl...not this year!!  Now that I have my gifts, it's time to make the wrapping.

The four legged people in our family are just as important as the two legged ones.  So, we have all of the puppies (they're really dogs, but they will always be puppies to me) to give gifts for.  My oldest dog found her Christmas gift, and now she knows where it is and whines every time we go near the room.  She's too smart for her own good!

All of the gifts need cards, and what better cards than dog themed ones!!


This is a little 3x3 card to put atop a package.  I cut Old Olive cardstock, cut it 3x6, then folded it in half.  I cut the bones out of scraps of the merry moments designer series paper and glued them to the front of the card.  


For the opening, I positioned the bone die where I wanted it (at the angle) and ran the open card though the Big Shot.  Make sure it's open otherwise you'll cut out both sides of the card, and you don't want that.  

The white insert is cut at 2.75x2.75.  I adhered it to the inside of the cars.  To make sure it stamped perfectly, I closed the card and stamped the sentiment in versa mark ink to ensure the sentiment fit inside the bone.  These took me NO TIME to make.  It was really quick and simple.  


Then, I put cherry cobbler embossing powder on the sentiment and heat embossed it.  This could be cute for gift card holders or larger cards.  I absolutely love this set and am so excited I got a chance to use it.  

Supplies Used:

I hope you enjoyed today's project!  Don't forget to tune in tomorrow for a new project!!  Happy crafting!!


Monday, December 7, 2015

2 Days of Christmas Day 7: Hot Cocoa Holder

0 comments
Good Morning and WELCOME to day 7 of the 12 days of Christmas.  I can't believe how fast this month is flying!!

Here is another cute goodie bag to whip up for the holidays.  I'll be honest, it took a little longer to make this that a I thought it would (I did make 15), but I also had some serious problems counting, so that could be what took longer as well.  However, I think they can out adorable.

I found this idea on Create with Christy.  The tutorial for the project can be found here.  I didn't have some of the framelits she used, so I improvised.  I also just used the merry moments designer series paper.  I think this is the first time (in the history of ever) I've used my entire paper stack.  This would be a great project for using up some of the scraps you have around.

I thought a hot cocoa treat would be awesome for my staff.  They are working really hard this month (although, they always work hard), and I'm trying to spread a little holiday cheer.  So, every Monday I'm giving them a treat...and here's what it is today!!


I love the little mug shape.  And the penguin is just too cute!  I had another cute "cocoa" sentiment, but it also had to do with snowmen, and I figured that we did snowmen last week. 


Inside, the package of hot chocolate fits perfectly.  I chose the peppermint hot chocolate from Starbucks, but you can choose whatever you think is best.  They are all about the same size and should fit.  For the whole tutorial, click on the link above so you can make this project too!  I just want to give credit and bloody love to those who developed it first.  

While this was a little more time consuming than I thought, it would be no problem to whip these up before Christmas so everyone can have some hot chocolate after Santa comes!  I think we are going to be drinking mimosas this year :)  


Supplies Used

On a side note, I've been thinking a lot about my blog and how I want to continue.  Let me know what you think and what would be helpful (like actual tutorials so you can duplicate these).  I hope everyone is having a very merry December and enjoying the projects so far!  Please remember to tune in tomorrow for day 8!!

Happy crafting!

Sunday, December 6, 2015

12 Days of Christmas Day 6: Wanna Build a Snowman?

0 comments
Good Morning and Welcome to Day 6 of the 12 Days of Christmas!!!!

We are halfway through with our marathon of Christmas craftiness.  Today I have a CUTE quick and simple treat bag.  I gave this bag to my staff in order to continue to increase morale and get ready for the holidays.  I saw this idea on pinterest, and knew I had the perfect stamp set to create something.


Que the Frozen song here.  In the bag is all of the "fixins" needed to create a snowman.  Get it, "wanna build a snowman?"  hehe....


In the bag are three regular size marshmallows for the body, two mini marshmallows for the feet, pretzel sticks for the arms, chocolate chips for the buttons and eyes, and an orange tic tac for the nose.  See, then you can build your own snowman.  


The topper itself is 5x8, so when folded over the cello bag it is 5x4.  It's a little large for the bag, but it came out really cute, so it's okay to me.  You can make it less wide if you desire.  I used Cherry Cobbler paper with the merry and bright designer series paper.  


The snowmen were used from My Creative Time's stamp set Snow Buddies and the coordinating dies.  I used my copic markers to color the snowmen.  My coloring needs a little work, but I think it came out okay.  This was really the first time I have used my copic markers on a project where I tried to do some shading.  I also used crystal effects for the nose and eyes to give them a shinier look.  

Supplies Used
Snowflake Embossing Folder
Copic Markers

I hope you all enjoyed my treat bag!  Don't forget to come back tomorrow for Day 7!  Happy Crafting!


Saturday, December 5, 2015

12 Days of Christmas Day 5: Oh What Fun Tags

0 comments
Welcome to Day 5 of the 12 Days of Christmas!

Today I have a bunch of Christmas tags to share.  I have never made tags before because I've always been too scared to try.  I don't know why I've been scared...it's just a tag.  Maybe it's because I'm a perfectionist and have never done it before.  That's why I bought a kit.  I thought it would give me a good feel as to how to layout tags and things.

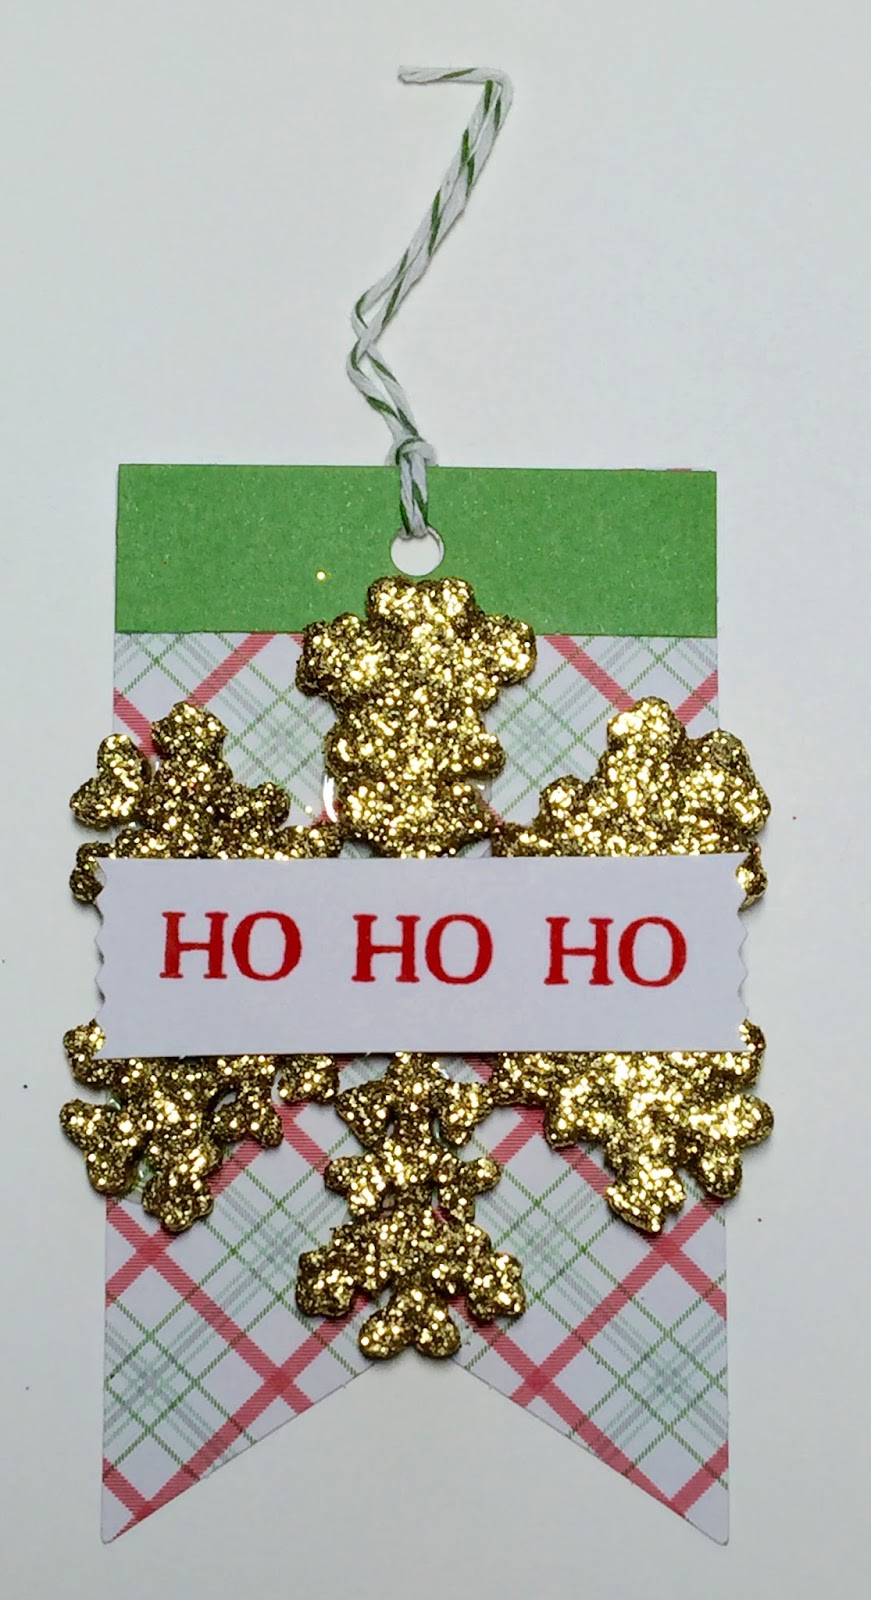
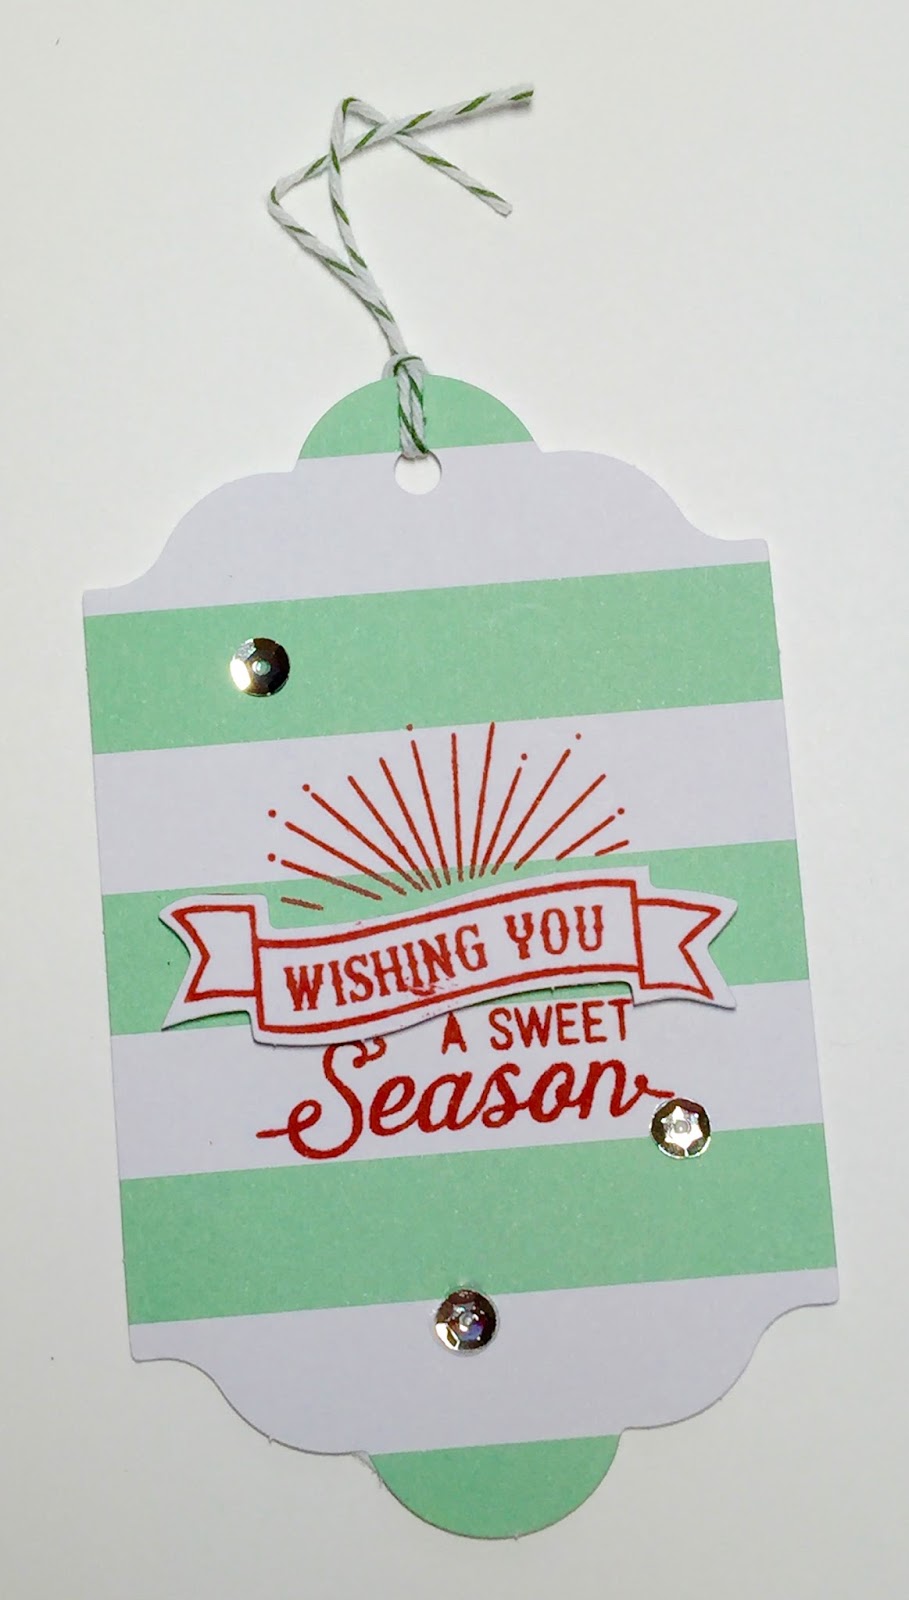
This is the "Oh What Fun" Tag kit from Stampin' Up.  Everything is included, and you make a whole bunch of tags.  They are super cute tags too.  I hope I have enough Christmas gifts to use them all.  This took no time to do.  You can order the kit and make these in time for Christmas!  It's great!

There are 10 different types of tags, and you make three of each tag.  That's a whole bunch of tags!


Here's a close up look at each of the tags.  


Supplies Used:

I hope ya'll enjoyed today's project!  Come back tomorrow for day 6!

Happy Crafting!

Friday, December 4, 2015

12 Days of Christmas Day 4: Let it Snow

0 comments
Good Morning and Welcome to Day 4 of 12 Days of Christmas!

Today is my most favorite projects to date!!  I got my inspiration from a couple of projects I found online, and a sketch I found interesting.  This is one of those projects I had in my head for a while, looked around in my craft room for papers and color inspiration, drew out a sketch, made a few changes.  And....boda bing, boda boom....


Isn't this the cutest card you ever did see?  I am pretty proud of it!  I've been looking for a chance to use the stamp set ever since I ordered it.  I like the stamp set that has the framelits that coordinate.  I used the big snowman from the Snow Place stamp set and cut out it and each accessory.  I used Staz On Jet Black Ink for the body and the hat, Cherry Cobbler for the scarf, Old Olive for the holly on the hat, and Chocolate Chip for the arms.  

Once all the snowmen were put together, I used Real Red card stock for the base, cut a layer of Smoky Slate and dry embossed it with the snowflake embossing folder from provocraft.  Then, to create the detail, I used Old Olive card stock cut at 3 x 5.25 and used a scalloped border punch (that's retired).  I stamped the "Let it Snow" and snowflake in Old Olive.  


I cut the pattered paper from the Merry Moments Designer Series at 2 x 5/4 and glued it to the Old Olive paper.  I then used the same measurements and cut Crumb Cake.  I used the 1" square punch to punch three squares and make it look like a photo strip.  I then glued the snowmen to the frame and cut the excess.  This made it look as if the snowmen were in a photo strip.  I adhered the photo frame to the card using dimensionals to add interest.  


I am so happy with the way this card came out.  I think I am more excited about how my creative juices are coming back and how much I am enjoying being back to crafting.  It was really neat to see my idea come to fruition and be so stinking adorable.  This isn't something that came out of a kit (although there is nothing wrong with that); it is neat to see an idea work.


Supplies Used: 

I hope you guys like the card as much as I do!  Come back tomorrow to see what's in store for Day 5

Happy Crafting!

Thursday, December 3, 2015

12 Days of Christmas Day 3: To You and Yours Shaker Cards

0 comments
Good Morning and Welcome to Day 3 of 12 Days of Christmas!

Today, I thought we would switch from treat holders to cards!  I am very excited to share these with you today, because these are my first shaker cards.  These cards look complex, but they're not. They were super simple.  The other great part is these cards come as a kit from Stampin' Up, so you still have time to make them and send them!!

This is the "To You and Yours Shaker Card Kit" by Stampin' Up.  It comes with almost everything you need right in the kit!  You just need the coordinating stamp set and some ink!


The cards are so adorable!  I love them so much, and I'm super excited to send them to my family and friends.  I am definitely going to try more shaker cards after doing these.  They are amazing.  I am getting more and more impressed with the Stampin' Up kits; they are getting much cuter.


Supplies Used:

I hope ya'll enjoyed todays project!!  Be sure to come back tomorrow for another fun project for my 12 Days of Christmas series!!  Thank you for your support!

Happy Crafting!

Wednesday, December 2, 2015

12 Days of Christmas Day 2: Naughty or Nice Lollypop Holder

0 comments
Good morning friends!

Welcome to day 2 of the 12 Days of Christmas with All Things Crafty.  Most of you thought I wouldn't make it to today, huh?

Today's project is another candy holder.  I used the Stitched Lollypop Holder from My Creative Time with Emma to put it together.  I love this die.  It is versatile and you can do so many things with it.  it is one of my all time favorites.


Man oh man was this project easy!  As you can see below, I just created an assembly line.  I cut out all of the lollypop holders, used stickles to create the "fur" of the santa coat.  Emma does other Santa projects and uses a liquid applique that make the fur puffy and more fur-like.  I didn't have any on hand, so I just used what I had.  Then, I used glossy accents for the belt to make it look like a leather belt.  

Then, I just used the stitched scalloped circle die and cut out the background and white circle, stamped a sentiment and here we go!  


I am really happy with the way these turned out.  I think they are super adorable, and my staff loved them.  If you "like" my Facebook page, you will know that this has been my profile picture all year.  I promise to do better.  I really do enjoy crafting, and I am so much happier when I am doing so (and not working all of the time).  There is a therapeutic element to this.  

I hope ya'll are enjoying the 12 days of Christmas!  Leave comments to let me know if there is something you want to see!  Happy crafting!!

Tuesday, December 1, 2015

12 Days of Christmas Day 1: Warmest Winter Wishes

0 comments
Happy December friends!!

I know, it's been about a year (or maybe a little over a year) since I posted on my blog, and it is my intention to get back into the jive of crafting.  I thought about just waiting until the new year, but I thought why do that when I have all of these super cute Christmas projects I am working on.

I do a few things differently now.  The big difference is I am more into stamping and less into my Cricut, although this project does include a Cricut image.  My mom is a Stampin' Up demonstrator, which I believe I have mentioned a few times, and I am getting back into stamping and creating that way.  I have been out of the crafting world for a little while though as I am trying to get used to my new job and finding a work/life balance that I need.

I am going to *try* to kick off my blogging with a 12 days of Christmas; however, we all know how that goes with me, so I am going to take it slow and we are going to see what happens.  I truly love paper crafting, and I am getting my mojo back.  While I'm into it, I figured what would be a better time to post some projects.

Onto the project!!  This is one of my most favorite projects I've ever done!  I got the idea from Emma over at My Creative Time.  She did this project with her snowman stamps and dies.  I thought it was so cute, I had to give it a try myself.  However, my household is really into penguins...so of course I had to use a penguin.  I think it turned out AMAZING, and it is my favorite thing I have made.


I'm sorry about the glare, I know it is bad, but they're penguins with Christmas hats!!  I still cannot get over how adorable this turned out.  Here is kind of a photo tutorial of how I did everything.  To be honest, I do not remember measurements (I know, I'm sorry, I will try to do better).  

First, I cut my black yardstick to fit around a Hershey nugget.  Then, I cut an oval in half and placed it in the middle.  You want to line it up at the bottom so you have room for the hat!  Then, I stamped the penguin face on the white piece and colored it in with some copics.  


Then, I wrapped all of the penguin faces around the hershey nuggets.  To make the hats, I cut finger tips off of gloves and glued a little pom pom to the top of the finger to make it look like a hat!  You can watch Emma's video to see how these guys were put together.  They are too stinking cute!


I handed these out to my coworkers.  One of them used to tease me about being Italian, so I had to give her a mobster penguin, so I pulled the cut finger of the glove all the way down and cut out eye holes.  I know the glare of the bag makes it difficult to see, but that's what it is.  


I hope you all enjoyed my post!  Hopefully it is the first of many.  We will see what day I make it to...anyone want to take bets? 

Supplies Used:
Stampin' Up Basic Black cardstock 
Stampin' Up Whisper White cardstock
Stampin' Up Crumb Cake cardstock 
Stampin' Up Christmas pack (retired)
Create a Critter 2 Cricut Cartridge (penguin)
My Pink Stamper winter stamp set (retired)
Peachy Keen stamp set (penguin face-retired)
Gloves
Pom Pom
Cello Bags

leave a comment and tell me what you think!  This isn't the last you've heard of me.  Happy crafting!


Monday, November 23, 2015

Paper Pumpkin November 2015: Mistletoe and Holly

0 comments
Happy Monday Morning!

Today I thought I would show you the adorable project made with this month's paper pumpkin.  This month's project were adorable Christmas cards with holly and mistletoe (hence the name).  They are very simple yet elegant cards.  I couldn't wait to dig into these.


These are some of the cutest cards I've made with Paper Pumpkin, and they were not difficult to make at all.  I love the decorative "berries" used.  I also think my stamping has improved, which helps with the quality of cards.  These are also some of the best bows I've ever done.  

Here is a sample of all of the cards with all of the different sentiments I used. 


I now have a slew of Christmas cards to send out in December.  I am also working on my December daily (pictures to come soon), and I am SO excited to complete that project.  Don't forget to check back often, and especially for my 12 days of December!!  Lots of fun projects in store!!

Happy Crafting!

Monday, November 16, 2015

Festival of Trees

0 comments
Hello Everyone!!

Here is another project for you on this Monday morning!  I am starting to work on Christmas projects, specifically cards, to get ready and prepped to send out for the holiday season.  This is the first year I have enough homemade cards to actually send out.  It has been so much fun being able to be creative and getting to share it with other people.

These cards were inspired from an online class I purchased from Robyn, My Pink Stamper.  This class was the festival of trees class.  For these, Robyn will send you that materials and a video, and you create as you see fit.  Here are all of the things that were in my kit!


The kit made three different cards!  There were a two in the kit I inspired to do something different, and the third card I kept the same.  


This was the card I kept the same.  It is a monochromatic card using Real Red cardstock.  I'm not used to doing monochromatic cards, so this was a lot of fun to make.  Very simple, yet very sophisticated.  I love it. 


This was one of the ones I altered;  I added the extra trees to the card.  It is very simple, but it is really cute.  The cherry cobbler accents bring a little something extra to the card.  I love the sparkle!! 


This is the other one I altered.  It is another monochromatic card, which continues to be out of my comfort soon.  This card has three trees and the twine.  I added the angled piece and extra tree.  I love how this turned out.  It's festive, but not overly "christmas-y"  


Thank you, Robyn, for such a great class.  Check out her latest classes here.  Also, don't forget to check out my 12 Days of Christmas coming up!!

Happy Crafting!!