







Have you heard of the concept of picking a word that you are going to think about and live for the next twelve months? I have thought about this for some time, and the word that immediately came to mind and I've been ruminating about is "intention."
This means being intentional about what I put in my mouth.
This means being intentional about exercising.
This means being intentional about what I do in my free time.
This means being intentional about my job.
I am going to start posting additional things on here other than craft projects. Don't get me wrong, it will still be predominately craft projects, but I need somewhere to post progress, thoughts, recipes, things other than crafts....or in addition to crafts.
The bottom line is I plan on posting more, including more about my life. This will help keep me accountable. So, here is my plan of attack:
I am going to plan meals on Friday and prep meals on Sunday.
I am going to complete the Jillian Michaels BodyShred program.
I am going to plan my week out on Sunday to prepare for the rest of the week.
2016 is my year of intention. Get ready.
Friday, January 1, 2016
Monday, December 14, 2015
Santa Boxes
Labels:
Christmas,
Treat Bags
0
comments
Good Morning!
I made it to day 9 of the 12 Days of Christmas. Hopefully I will make up for that with a few more Christmas projects before the end of the month. Today's project is a quick and easy one that took no time at all!
I used the curvy keepsake box to make them look like Santa. I got the idea from My Pink Stamper. She made the boxes and matching placemats. I did a few things differently with the belt, but I think they turned out really cute! I thought they would make the perfect Monday gift for my staff. They've been working hard this month, and I like giving them fun things.


I made it to day 9 of the 12 Days of Christmas. Hopefully I will make up for that with a few more Christmas projects before the end of the month. Today's project is a quick and easy one that took no time at all!
I used the curvy keepsake box to make them look like Santa. I got the idea from My Pink Stamper. She made the boxes and matching placemats. I did a few things differently with the belt, but I think they turned out really cute! I thought they would make the perfect Monday gift for my staff. They've been working hard this month, and I like giving them fun things.

I used two different color for the boxes, cherry cobbler and real red. The belt was made with the black glimmer paper, which I cut into a rectangle then glued it on and cut it to fit the curviness of the box. The buckle was made with a die from the Baker's Box frailest set and silver glimmer paper.


The box fits four hershey kisses perfectly. I used the candy cane kisses to make it a little more festive. I love how easy and simple the box is to put together. This is definitely the project to throw together as a last minute Christmas idea. I hope ya'll love it as much as I do!
Happy Craftin'!!!

Wednesday, December 9, 2015
12 Days of Christmas Day 9: Tree Treats
Labels:
Christmas,
Treat Bags
0
comments
Good Morning and Welcome to Day 9 of the 12 Days of Christmas!
Today's project comes from the master herself, my mama! She has all of the creativity and makes super cute projects. Today, she made these ADORABLE Christmas tree treat holders. She made then for a swap with her Stampin' Up people in Texas, and they were a big hit.
I'm sad she didn't save one for me. She used the cutie pie thinlit die to create the box and the window. She cut out the little tag with the deco labels frame lit, stamped the sentiment, and put a few accessories. Isn't it just adorable! I love it so much!

Today's project comes from the master herself, my mama! She has all of the creativity and makes super cute projects. Today, she made these ADORABLE Christmas tree treat holders. She made then for a swap with her Stampin' Up people in Texas, and they were a big hit.
I'm sad she didn't save one for me. She used the cutie pie thinlit die to create the box and the window. She cut out the little tag with the deco labels frame lit, stamped the sentiment, and put a few accessories. Isn't it just adorable! I love it so much!

Supplies Used
Don't forget to leave her some bloggie love! These are awesome! Come back tomorrow for Day 10!
Happy Crafting!
Tuesday, December 8, 2015
12 Days of Christmas Day 8: Fleas Navidad
Labels:
Christmas,
My Creative Time
0
comments
Good Morning!
Here is day 8 of the 12 Days of Christmas.
I have all of my Christmas shopping done, and I am very excited about it because I an usually not this organized this early in December. Usually, I am a last minute kind of girl...not this year!! Now that I have my gifts, it's time to make the wrapping.
The four legged people in our family are just as important as the two legged ones. So, we have all of the puppies (they're really dogs, but they will always be puppies to me) to give gifts for. My oldest dog found her Christmas gift, and now she knows where it is and whines every time we go near the room. She's too smart for her own good!
All of the gifts need cards, and what better cards than dog themed ones!!


Here is day 8 of the 12 Days of Christmas.
I have all of my Christmas shopping done, and I am very excited about it because I an usually not this organized this early in December. Usually, I am a last minute kind of girl...not this year!! Now that I have my gifts, it's time to make the wrapping.
The four legged people in our family are just as important as the two legged ones. So, we have all of the puppies (they're really dogs, but they will always be puppies to me) to give gifts for. My oldest dog found her Christmas gift, and now she knows where it is and whines every time we go near the room. She's too smart for her own good!
All of the gifts need cards, and what better cards than dog themed ones!!

This is a little 3x3 card to put atop a package. I cut Old Olive cardstock, cut it 3x6, then folded it in half. I cut the bones out of scraps of the merry moments designer series paper and glued them to the front of the card.

For the opening, I positioned the bone die where I wanted it (at the angle) and ran the open card though the Big Shot. Make sure it's open otherwise you'll cut out both sides of the card, and you don't want that.
The white insert is cut at 2.75x2.75. I adhered it to the inside of the cars. To make sure it stamped perfectly, I closed the card and stamped the sentiment in versa mark ink to ensure the sentiment fit inside the bone. These took me NO TIME to make. It was really quick and simple.

Then, I put cherry cobbler embossing powder on the sentiment and heat embossed it. This could be cute for gift card holders or larger cards. I absolutely love this set and am so excited I got a chance to use it.
Supplies Used:
I hope you enjoyed today's project! Don't forget to tune in tomorrow for a new project!! Happy crafting!!
Monday, December 7, 2015
2 Days of Christmas Day 7: Hot Cocoa Holder
Labels:
Christmas,
Treat Bags
0
comments
Good Morning and WELCOME to day 7 of the 12 days of Christmas. I can't believe how fast this month is flying!!
Here is another cute goodie bag to whip up for the holidays. I'll be honest, it took a little longer to make this that a I thought it would (I did make 15), but I also had some serious problems counting, so that could be what took longer as well. However, I think they can out adorable.
I found this idea on Create with Christy. The tutorial for the project can be found here. I didn't have some of the framelits she used, so I improvised. I also just used the merry moments designer series paper. I think this is the first time (in the history of ever) I've used my entire paper stack. This would be a great project for using up some of the scraps you have around.
I thought a hot cocoa treat would be awesome for my staff. They are working really hard this month (although, they always work hard), and I'm trying to spread a little holiday cheer. So, every Monday I'm giving them a treat...and here's what it is today!!


Here is another cute goodie bag to whip up for the holidays. I'll be honest, it took a little longer to make this that a I thought it would (I did make 15), but I also had some serious problems counting, so that could be what took longer as well. However, I think they can out adorable.
I found this idea on Create with Christy. The tutorial for the project can be found here. I didn't have some of the framelits she used, so I improvised. I also just used the merry moments designer series paper. I think this is the first time (in the history of ever) I've used my entire paper stack. This would be a great project for using up some of the scraps you have around.
I thought a hot cocoa treat would be awesome for my staff. They are working really hard this month (although, they always work hard), and I'm trying to spread a little holiday cheer. So, every Monday I'm giving them a treat...and here's what it is today!!

I love the little mug shape. And the penguin is just too cute! I had another cute "cocoa" sentiment, but it also had to do with snowmen, and I figured that we did snowmen last week.

Inside, the package of hot chocolate fits perfectly. I chose the peppermint hot chocolate from Starbucks, but you can choose whatever you think is best. They are all about the same size and should fit. For the whole tutorial, click on the link above so you can make this project too! I just want to give credit and bloody love to those who developed it first.
While this was a little more time consuming than I thought, it would be no problem to whip these up before Christmas so everyone can have some hot chocolate after Santa comes! I think we are going to be drinking mimosas this year :)
Supplies Used
On a side note, I've been thinking a lot about my blog and how I want to continue. Let me know what you think and what would be helpful (like actual tutorials so you can duplicate these). I hope everyone is having a very merry December and enjoying the projects so far! Please remember to tune in tomorrow for day 8!!
Happy crafting!
Sunday, December 6, 2015
12 Days of Christmas Day 6: Wanna Build a Snowman?
Labels:
Christmas,
My Creative Time,
Treat Bags
0
comments
Good Morning and Welcome to Day 6 of the 12 Days of Christmas!!!!
We are halfway through with our marathon of Christmas craftiness. Today I have a CUTE quick and simple treat bag. I gave this bag to my staff in order to continue to increase morale and get ready for the holidays. I saw this idea on pinterest, and knew I had the perfect stamp set to create something.


We are halfway through with our marathon of Christmas craftiness. Today I have a CUTE quick and simple treat bag. I gave this bag to my staff in order to continue to increase morale and get ready for the holidays. I saw this idea on pinterest, and knew I had the perfect stamp set to create something.

Que the Frozen song here. In the bag is all of the "fixins" needed to create a snowman. Get it, "wanna build a snowman?" hehe....

In the bag are three regular size marshmallows for the body, two mini marshmallows for the feet, pretzel sticks for the arms, chocolate chips for the buttons and eyes, and an orange tic tac for the nose. See, then you can build your own snowman.

The topper itself is 5x8, so when folded over the cello bag it is 5x4. It's a little large for the bag, but it came out really cute, so it's okay to me. You can make it less wide if you desire. I used Cherry Cobbler paper with the merry and bright designer series paper.

The snowmen were used from My Creative Time's stamp set Snow Buddies and the coordinating dies. I used my copic markers to color the snowmen. My coloring needs a little work, but I think it came out okay. This was really the first time I have used my copic markers on a project where I tried to do some shading. I also used crystal effects for the nose and eyes to give them a shinier look.
Supplies Used
Snowflake Embossing Folder
Copic Markers
I hope you all enjoyed my treat bag! Don't forget to come back tomorrow for Day 7! Happy Crafting!
Saturday, December 5, 2015
12 Days of Christmas Day 5: Oh What Fun Tags
Labels:
Christmas,
Stampin Up Kit,
Tags
0
comments
Welcome to Day 5 of the 12 Days of Christmas!
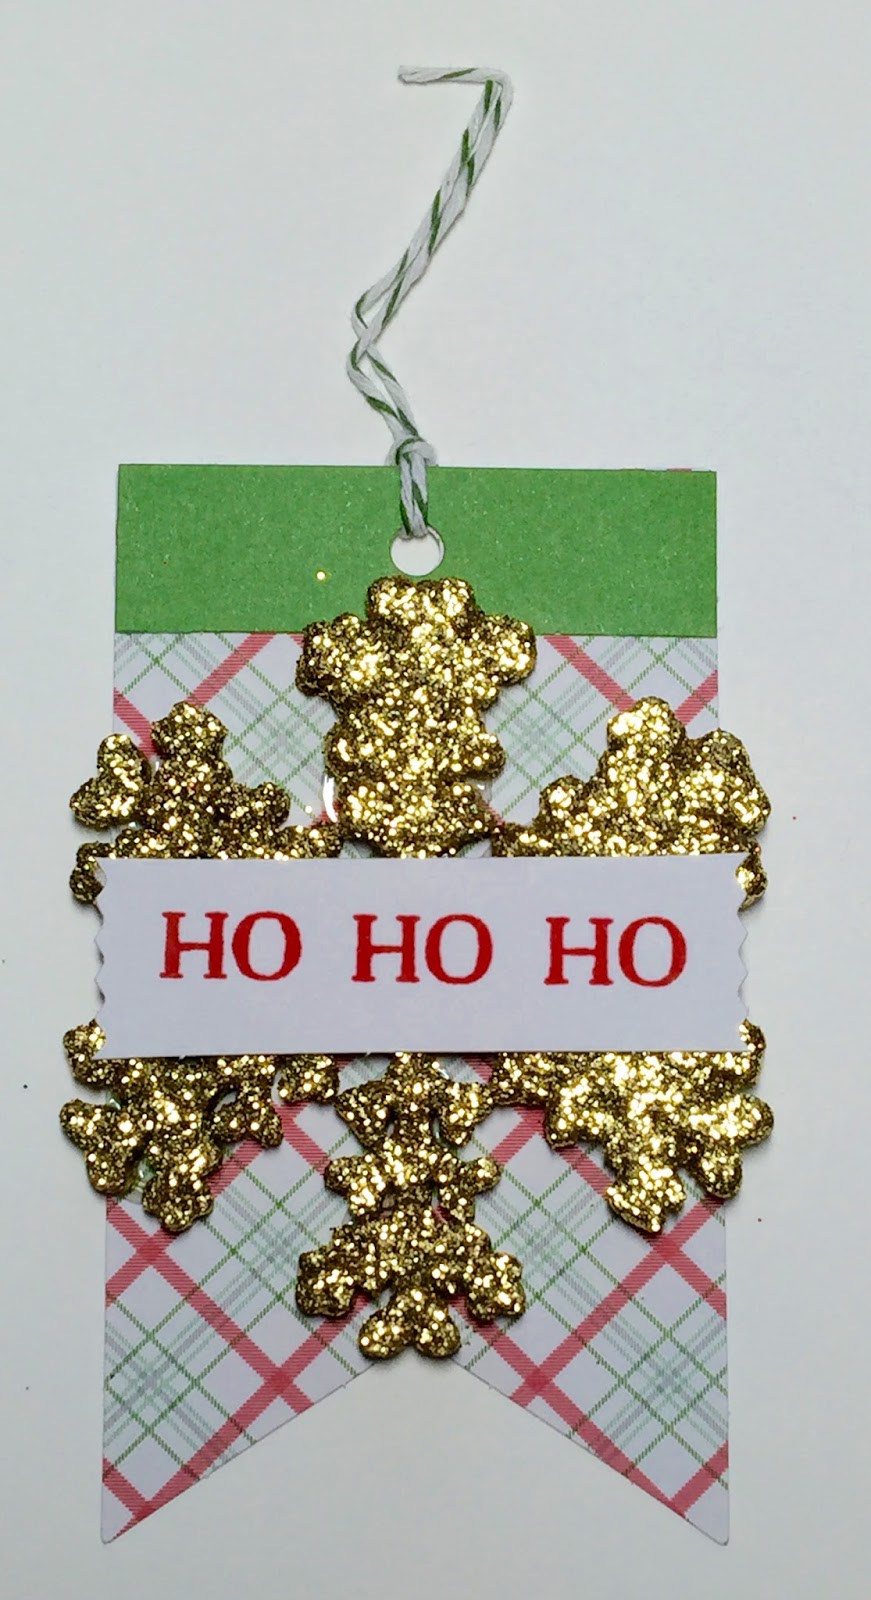
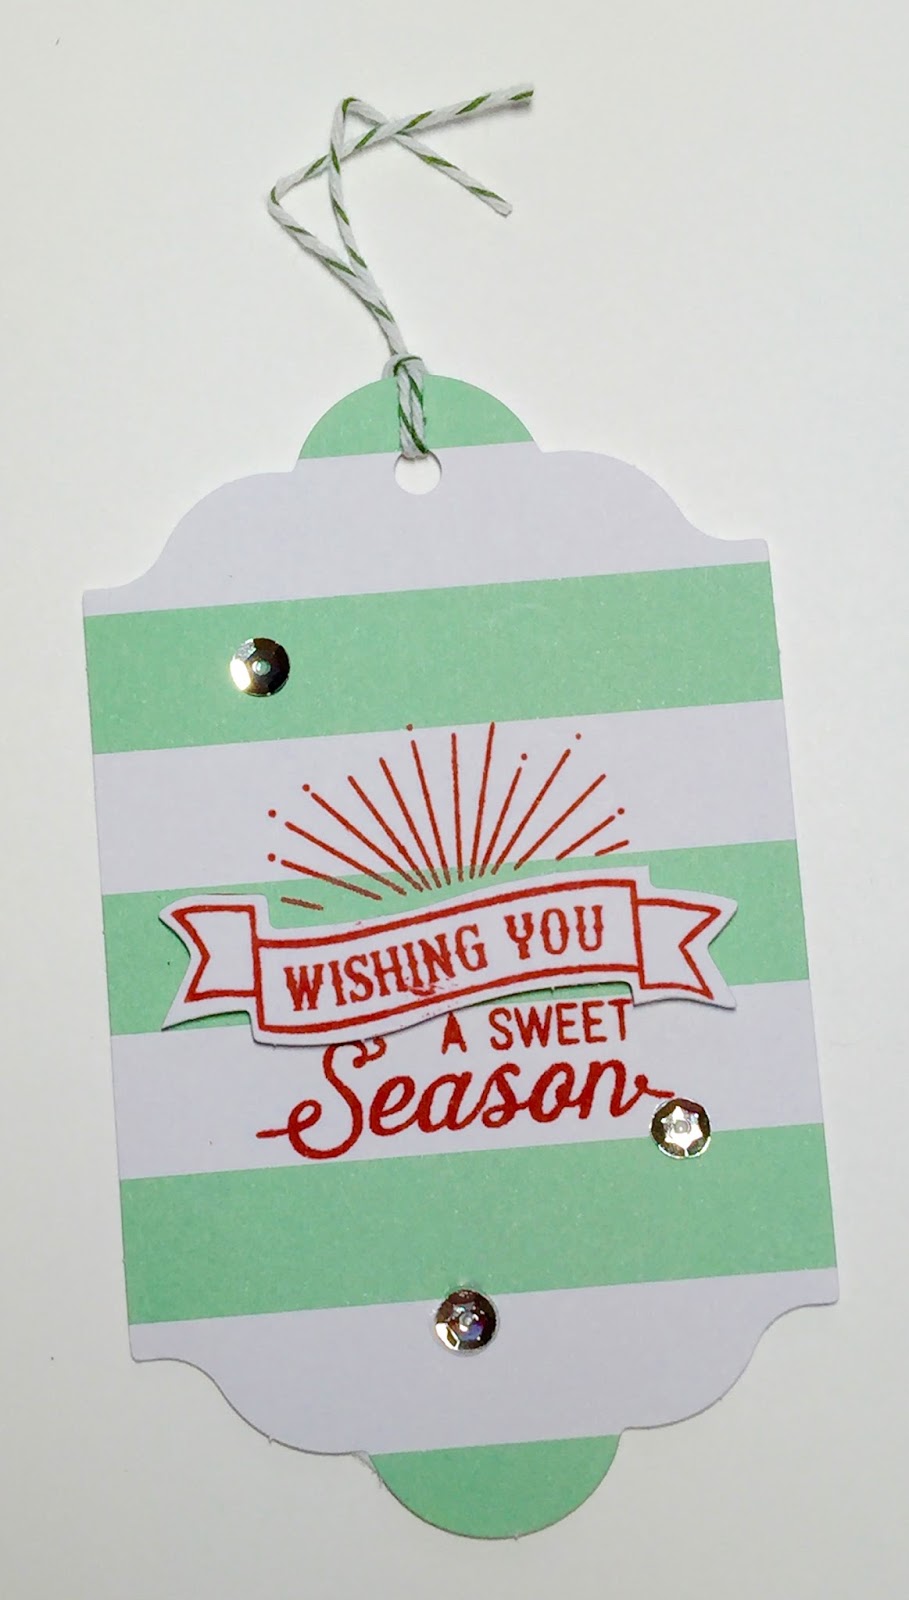
Today I have a bunch of Christmas tags to share. I have never made tags before because I've always been too scared to try. I don't know why I've been scared...it's just a tag. Maybe it's because I'm a perfectionist and have never done it before. That's why I bought a kit. I thought it would give me a good feel as to how to layout tags and things.
This is the "Oh What Fun" Tag kit from Stampin' Up. Everything is included, and you make a whole bunch of tags. They are super cute tags too. I hope I have enough Christmas gifts to use them all. This took no time to do. You can order the kit and make these in time for Christmas! It's great!
There are 10 different types of tags, and you make three of each tag. That's a whole bunch of tags!


Today I have a bunch of Christmas tags to share. I have never made tags before because I've always been too scared to try. I don't know why I've been scared...it's just a tag. Maybe it's because I'm a perfectionist and have never done it before. That's why I bought a kit. I thought it would give me a good feel as to how to layout tags and things.
This is the "Oh What Fun" Tag kit from Stampin' Up. Everything is included, and you make a whole bunch of tags. They are super cute tags too. I hope I have enough Christmas gifts to use them all. This took no time to do. You can order the kit and make these in time for Christmas! It's great!
There are 10 different types of tags, and you make three of each tag. That's a whole bunch of tags!

Here's a close up look at each of the tags.


Supplies Used:
I hope ya'll enjoyed today's project! Come back tomorrow for day 6!
Happy Crafting!
Subscribe to:
Posts (Atom)